

Learning Male Anatomy With Omni-Man
Learning Male Anatomy With Omni-Man
Published 5/2025
MP4 | Video: h264, 1920x1080 | Audio: AAC, 44.1 KHz
Language: English | Size: 5.86 GB | Duration: 10h 35m
Published 5/2025
MP4 | Video: h264, 1920x1080 | Audio: AAC, 44.1 KHz
Language: English | Size: 5.86 GB | Duration: 10h 35m
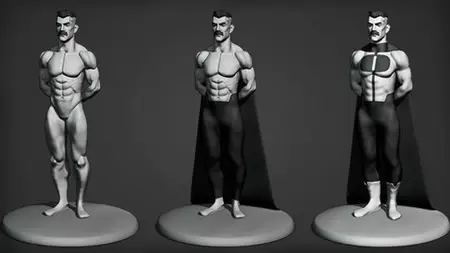
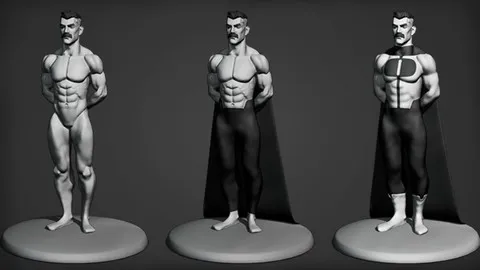
Sculpting Omni-Man in Blender in an action figurine fashion.
What you'll learn
Create a high-quality 3D sculpt of a superhero like character
Learn important anatomy principles and shapes
Understand intermediate level digital sculpting practices
Familiarize with the concept of sculpting from reference and learn key ideas
Requirements
A 3D Sculpting software, basic understanding of the software(suggested: Blender or Zbrush)
Description
Have you ever wanted to create your own superhero action figure? Similar to the Dragon Ball ones, or Marvel? Well, I'm not sure if he's exactly a superhero, but he's definitely a good writer. Yes, we are talking about Nolan Grayson, a.k.a. Omni-Man! In this course, we'll see how you can make a figurine like sculpt of a powerful pose of Omni-Man. Now, you might think that this is quite complex. Are you sure? I have divided each part of the body into its own section, where we go through how to sculpt them, tips on achieving the best shape, and other helpful practices. We'll start with the top, the head, and the hair. After spending quite some time getting the details right, we'll move to the torso, where we discuss different shapes and how to get the best proportions. Then, we'll need some arms, and we'll use two cylinders. Yes, two cylinders. The hands can wait for now, as we need to work a bit closer there, so the legs are next. This time it will be only one cylinder, but one is plenty. We won't get too detailed for the dogs, so it's time for the hands. After making a detailed default hand, we'll pose the individual hands, and our pieces are done. So it is time to join them. After doing so carefully, we'll give Omni-Man his costume and cape. Finally, we'll add some grayscale colors to make him more menacing and appreciate it through the screen. Pick up your pen and tablet, and let's get started!
Overview
Section 1: The Head
Lecture 1 Starting The Head and Quick Course Walkthrough
Lecture 2 Sculpting The Main Shapes Of The Head
Lecture 3 Finishing Details and Adding The Mustache
Lecture 4 Adding The Hair and Completing The Head
Section 2: The Torso
Lecture 5 Creating The Torso
Lecture 6 Finishing Details and Cleaning Up Mesh
Section 3: The Arms
Lecture 7 Adding The Arms
Lecture 8 Joining and Completing The Arms
Section 4: Legs and Hand
Lecture 9 Adding The Legs
Lecture 10 Creating The Hands
Lecture 11 Adjusting The Butt
Section 5: Completing The Figure
Lecture 12 Joining and Cleaning Up The Mesh
Lecture 13 Adding The Cape and Clothes
Lecture 14 Coloring The Sculpt
Beginner to intermediate Blender users,Beginner to intermediate Blender users interested in sculpting,Students interested in digital sculpting,Beginner to intermediate 3D Sculptors