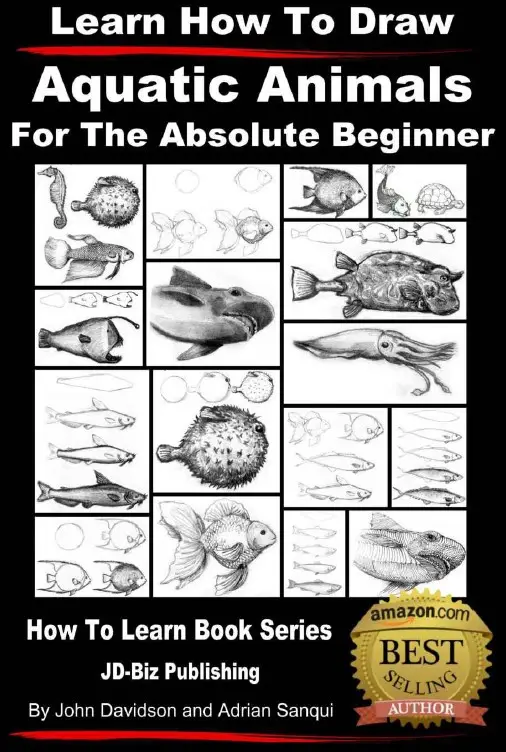
Learn How to Draw Aquatic Animals - For the Absolute Beginner by John Davidson
English | October 30, 2013 | ISBN: N/A | ASIN: B00GBKG8WM | 47 pages | PDF | 1.83 Mb
English | October 30, 2013 | ISBN: N/A | ASIN: B00GBKG8WM | 47 pages | PDF | 1.83 Mb
Learn How to Draw Aquatic Animals - For the Absolute Beginner
TABLE OF CONTENTS
Introduction: Drawing Tools
Primary Sketches
Constructing Outlines
Using a Base
•Common forms
oVeiltail goldfish
oQueen angelfish
oMackerel
oSalmon
oCatfish
•Unique forms
oOcean sunfish
oCowfish
oAnglerfish
Contour Shape
Planes
Texture
oPorcupine fish
oSiamese fighting fish
oSeahorse
Composing the Figure
oTarpon
Primary sketches
Rough sketching is an easy approach to build up your drawing skills by letting your hand gain familiarity on how the forms and details are expressed by lines. This is a good way of enhancing your creativity through experience and can build up your hand and mind coordination rapidly.
Build the form through several lines until you figure out the primary shape of the subject. Sketching is the way to express your imagination freely and portray your ideas visually through lines.
Start with a simple animal figure. Try to draw an animal in profile/side view, draw a simple fish or dolphin, whatever you think is easy for you.
A figure in side view barely involves dimension values and does not contain any kind of foreshortening (overlapping proportions to depict the figure’s perspective).
Worry less on how many line strokes you need to make just to obtain the primary shape of the animal. Be expressive on your line strokes and produce different kinds of lines to construct a figure that is distinguishable to your subject.
•Start with thin and barely visible lines with light hand strokes.
Try to construct the primary parts of the figure. Depict the animal’s mass and try proportioning them properly.
•Choose the lines that best define the primary shape of your figure and thicken them.
Get back to the line marks you have made and observe what linings depicted the shape of your figure. Darken these lines to make them more dominant to the other markings.
•When you already have a good outline of the figure, clean up your drawing and erase the unnecessary line marks you no longer need.
Erase the unsuccessful outlines so you will be left with the effective one (the ones you darkened). And clean up the inner portion of your drawing to have as space for the details.
•Now try to draw the details. Draw the eye, fins and gills.
Continue your illustration with the same process you did before. Start with light thin lines until you make the most successful line stroke. Make the fins curvy as if it’s floating on the water. Once again, thicken the most successful lines and erase the unsuccessful sketch marks.
•Once you have the primary details, draw the secondary details such as the lines on the fins.
At this point, the permanent (successful outlines) lines should be thinner than the previous outlines you have made but it should be as dark and as visible. Make parallel curved lines to give some details on the fins, follow the outline curves of the fins and adapt how it bends until the lines reach the outline.
Now for the texture, don’t fill the whole thing with overlapping curves to illustrate the scales, just try to imagine that the scales are there but they aren’t totally exposed (as if the light is too bright for the little details to be visible).
• draw the scales on the sides near the main outline with dark lines then make it lighter and lighter as it gets nearer at the center.
Remember that the shape of a fish is a bit round, so draw the scales in a curved line, and sustain this curve along with the other scales on the upper portion of the fish’s body.
Feel Free to contact me for book requests, informations or feedbacks.
Without You And Your Support We Can’t Continue
Thanks For Buying Premium From My Links For Support
Without You And Your Support We Can’t Continue
Thanks For Buying Premium From My Links For Support


