Rhino and V-Ray: Rendering
MP4 | Video: 720p | Duration: 2:45:58 | English | Subtitles: VTT | 847.6 MB
MP4 | Video: 720p | Duration: 2:45:58 | English | Subtitles: VTT | 847.6 MB
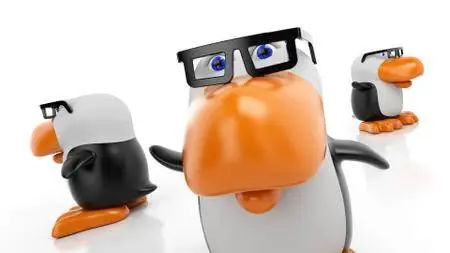
Before you can showcase your 3D designs, you need renders of your work that really pop. Learn how to render with Rhino and V-Ray in this course, which includes three fun sample projects: a penguin with glasses, a retro TV frame, and a funky birdhouse. First, author Dave Schultze shows how to install V-Ray and demystifies 3D concepts such as global illumination and raytrace rendering. He demonstrates techniques for rendering quickly with both Rhino's built-in rendering and V-Ray, and explains how to customize materials, enhance them with texture mapping, and add realistic surface textures using bump and displacement maps. Along the way, Dave shares insider tips and tricks on rendering, while showing how to get the right lighting for your scene, use color correction tools, and render with the V-Ray frame buffer.
Topics include:
- Why use V-Ray?
- Installing DR Spawner
- Understanding 3D terminology
- Activating V-Ray
- Adjusting quality settings
- Get quick previews with the material override
- Understanding lighting types
- Exploring materials in the Material Editor
- Creating your own materials
- Texture mapping materials with bitmaps and procedurals
- Saving time with V-Ray presets
- Getting the right size for your render with output settings
- Working with environment lighting
- Strategies for working with cameras and camera settings
- Ensuring accurate color for your scene with color correction
- Rendering tips and tricks


