

Create 3D Photorealistic Faces
Create 3D Photorealistic Faces
Published 2/2024
Duration: 2h53m | .MP4 1280x720, 30 fps(r) | AAC, 44100 Hz, 2ch | 2.19 GB
Genre: eLearning | Language: English
Published 2/2024
Duration: 2h53m | .MP4 1280x720, 30 fps(r) | AAC, 44100 Hz, 2ch | 2.19 GB
Genre: eLearning | Language: English
Realistic Renders
What you'll learn
Learn the secrets to create photorealistic faces.
Easily setup materials using specular, roughness and sss textures.
Projecting textures using Mari.
Creating hair using XGen inside of Maya.
Complete and render a realistic face including post processing.
Requirements
Basic knowledge of Maya and ZBrush.
Description
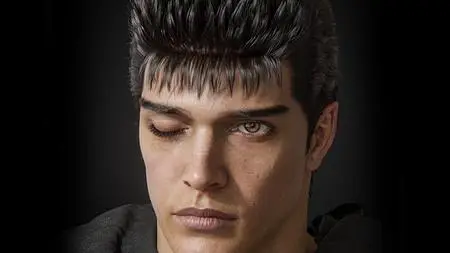
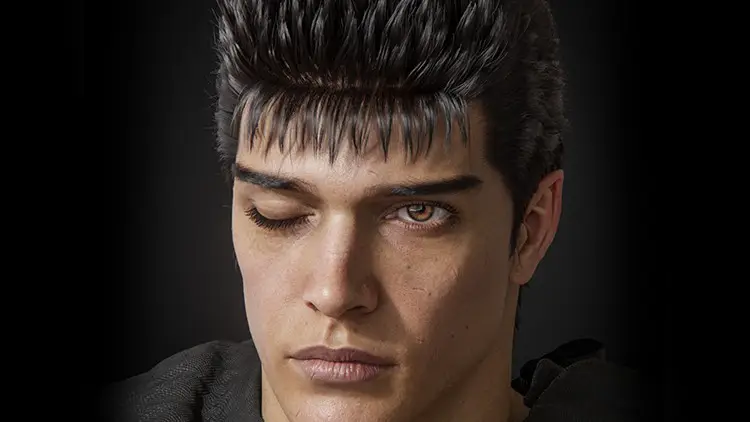
See that face? I'll show you how to make it. Based on Guts from Berserk.
Follow me in these series of videos, over 2.5 hours total, where i will show you how i create my characters.
Below are the softwares i usually use, but you can follow my steps in your favorite program, like Blender for example.
Software used:
Autodesk Maya 2024, Arnold Renderer, The Foundry Mari, The Foundry Nuke, Pixologic ZBrush and Photoshop.
Note:
Resources like the
textures from TexturingXYZ are paid and separate.
Also, this is
not a beginner tutorial
but you will learn a lot.
First we will start with a basic look at the modeling inside of ZBrush, setting up our model with another one to transfer the textures, then we go to Mari to start projecting the displacement and transfer textures. After that, we jump into Maya were most of the work is going to happen, setting up out model with our material, connecting all of out textures and get it ready to start rendering using Arnold Render. Once we have our render, we export it to start the post processing using Nuke and Photoshop to add those little extra steps to make it as realistic as we can outside of the 3D software.
Who this course is for:
This course is for anyone who want to get more realistic results with their characters.
This course is designed for people with intermediate level of knowledge with 3D softwares.
More Info